My old tutorial images seems have gotten corrupted due to a recent site migration.
I found another tutorial from the internet by this twitter user Ak Spiral
Before we move on please read the disclaimer.
Disclaimer:
This website and the material covered is for informational purposes only. I take no responsibility for what you do with this knowledge. I cannot be held responsible for any property or medical damages caused by following this tutorial you read about on my website. This WILL void your warranty.
Things you’ll need to get started.
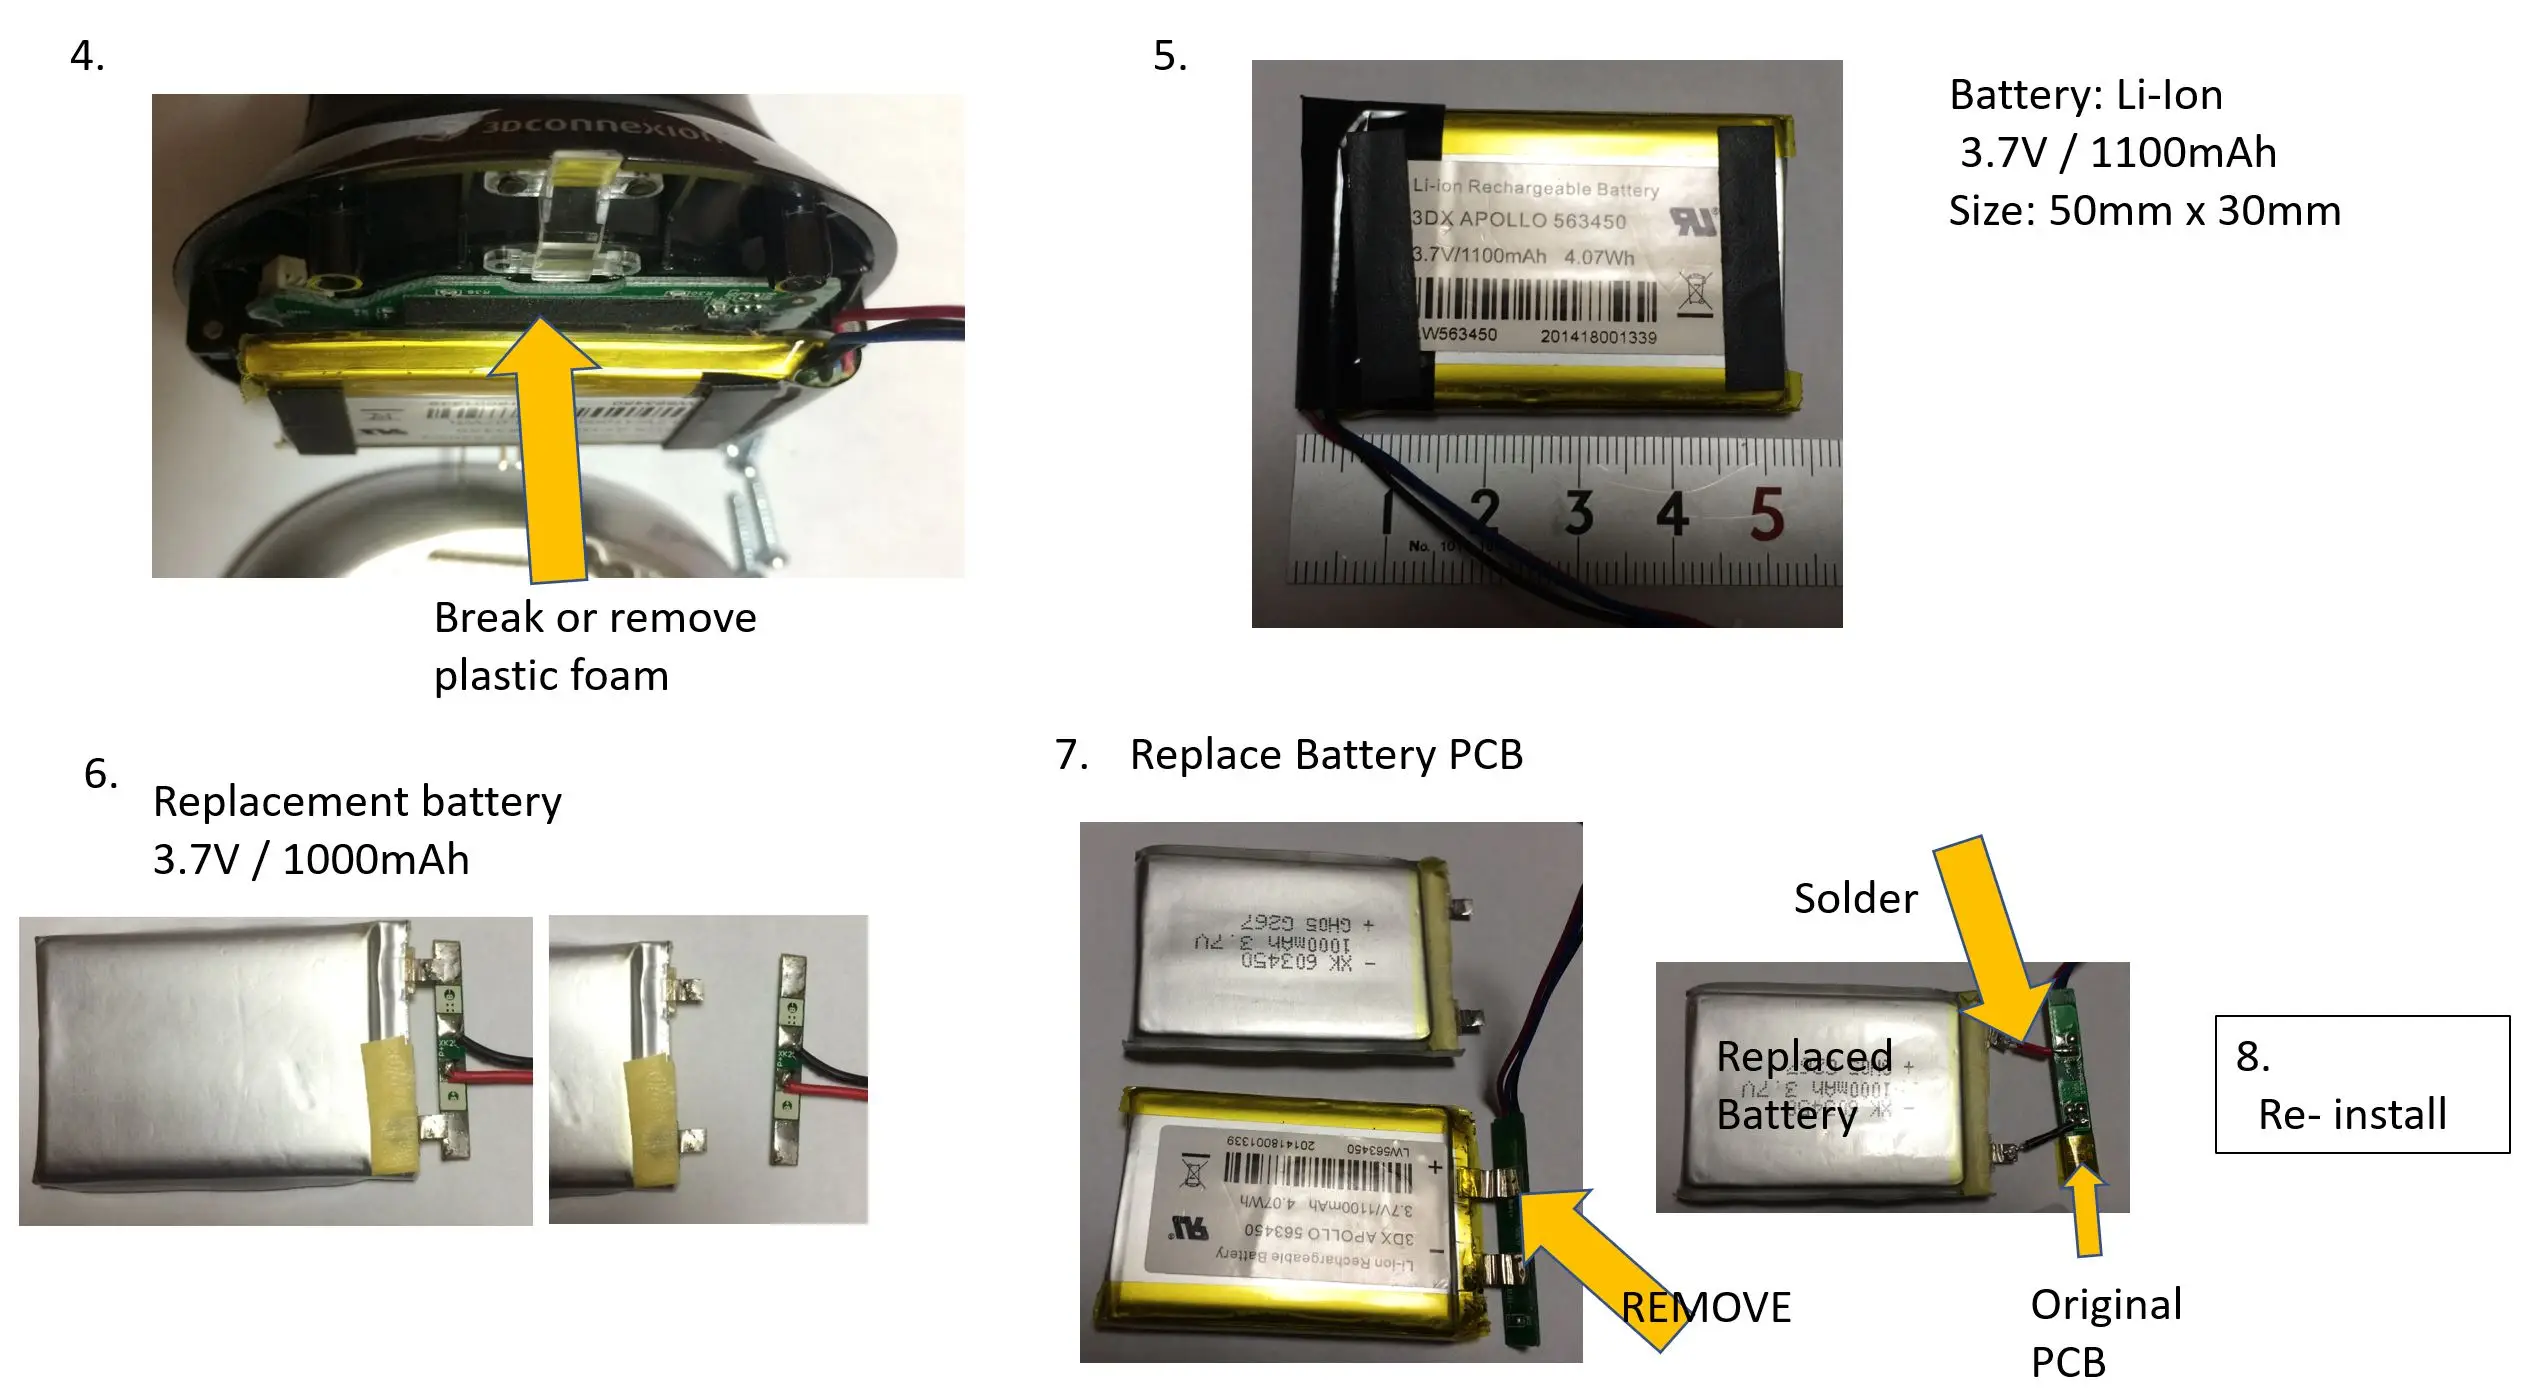
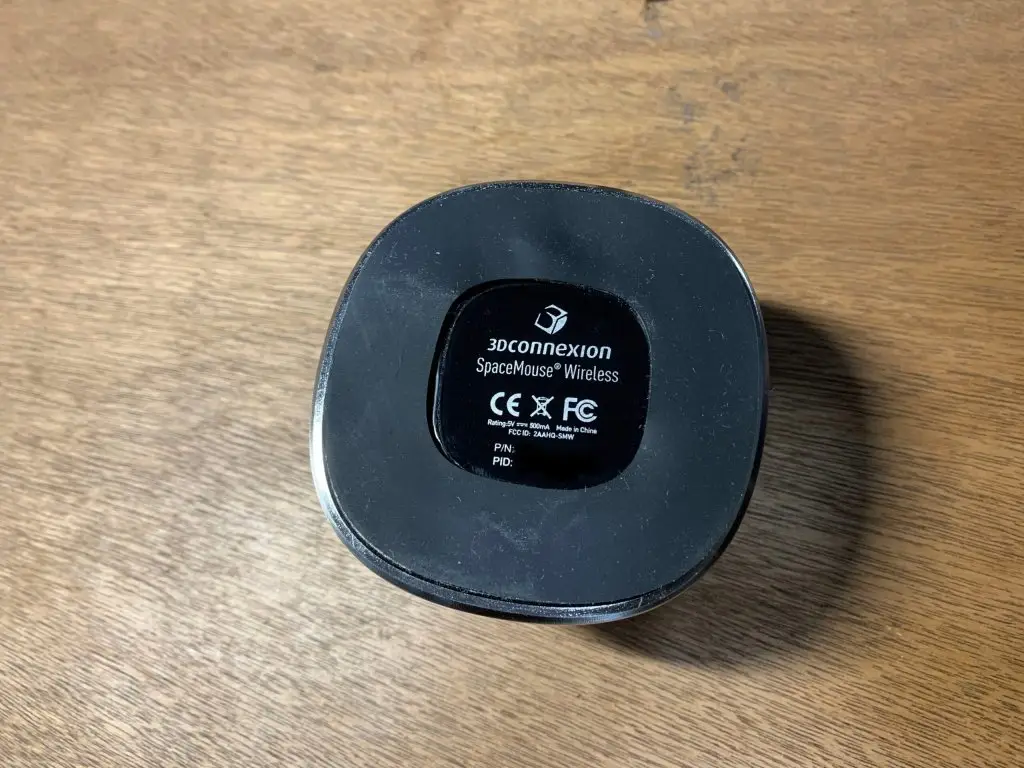
- Replacement battery specs (3.7v 1100mAh 4.07Wh). I used this battery I found on Amazon, which was closest to the original specifications. Purchase here https://amzn.to/3TitnwW
- Soldering Iron
- Electrical Tape
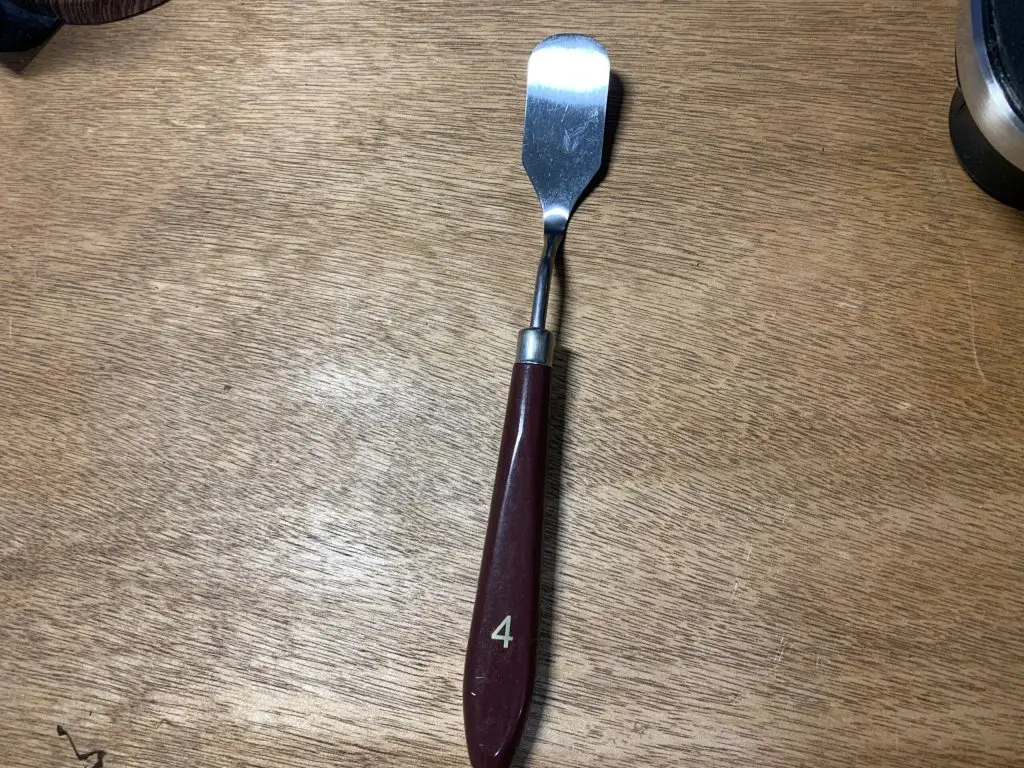
- A small spatula
- A small screw driver set
Step 1:
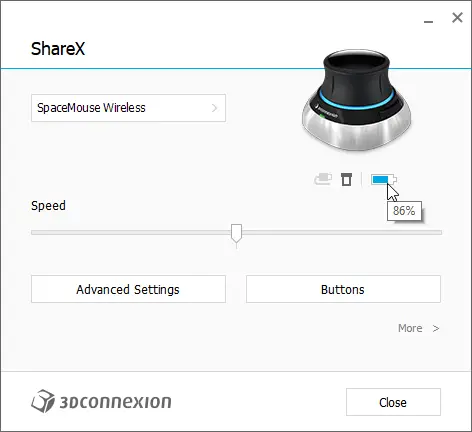
If your battery is stuck at 1% and still operates as usual, reach out to 3dconnexion directly first for an updated firmware. If it shows 1%, doesn’t hold charge and shows the red led when unplugged, please proceed with this tutorial.

Step 2:
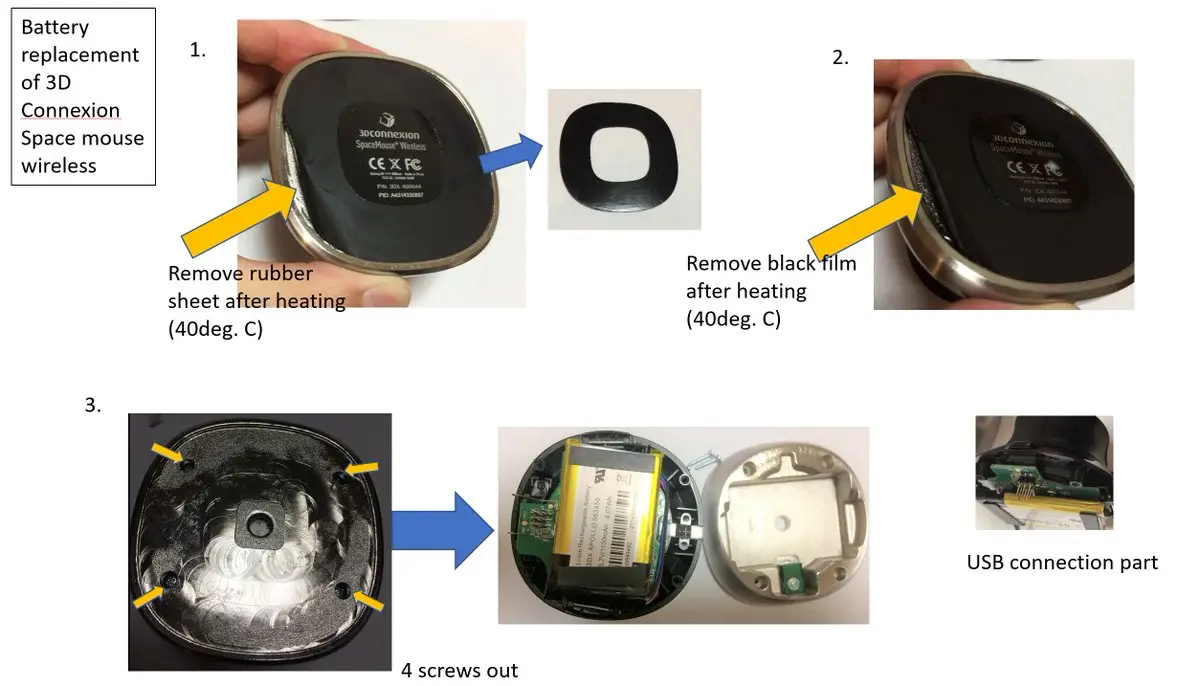
You’ll need to remove the rubber seal at the bottom, try to keep the center logo in place. I used a small spatula to pull off the rubber base at the bottom.
Step 3:
Unscrew the 4 screws on the bottom

Step 4:
Be careful while separating the base from the top.

Step 5:
Use spatula to separate the tape from the battery and unplug the battery from the circuit board.

Step 6:
Since the old battery connector doesn’t match our new battery connector, we’ll need to cut the old battery’s connector and solder it to our new battery’s connector. DO NOT mix up the colors.


Step 7:
Next we solder the connectors together. Use electrical tape when you’re done to make sure they don’t touch.


Step 8:
Close everything back up and you’re done! You should have proper battery monitoring now.